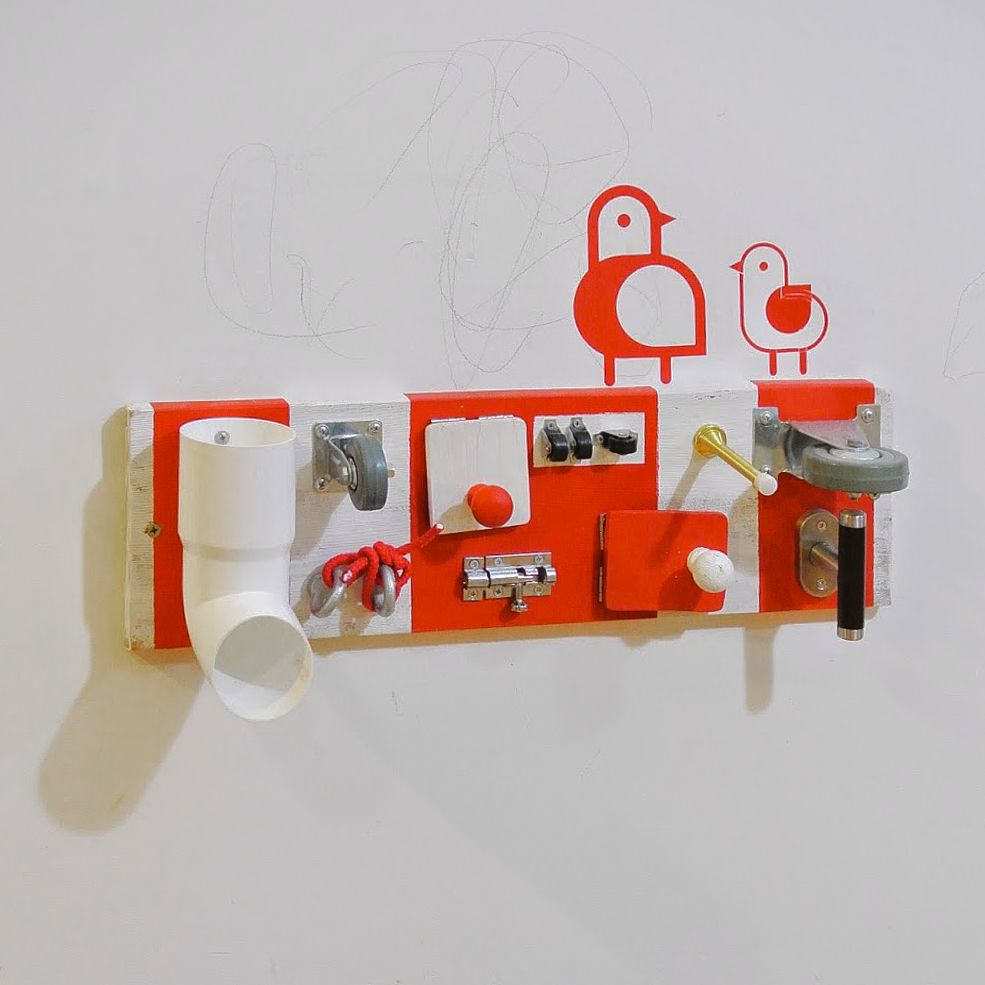
I made this for my son’s first birthday. It was a huge WOW among 1-year-old, 2-year-old, and – to my surprise – a 10-year-old. A success, really. I called it a Control Panel busy board.

Before making, I did a research on this subject. Among tens of similar projects, I found a board by gmglimmerglass most inspiring. I loved the idea that this board can be not only a fine-motor-developing toy for toddler, but a cool entertainment for older kid. It can act as space ship control panel, crazy scientists machine, submarine intercom, etcetera, etcetera.
How to make a busy board, step by step
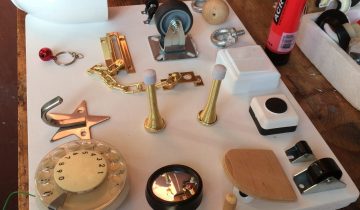
First I bought all supplies at hardware store. You just walk around and grab anything you like. I got some wheels of different sizes, since my baby loves wheels; window handle; door stopper; piece of tube to drop things through it; and some more stuff.
I had a white board of suitable size. After fitting all the details, I thought it will be right to color-block my control panel busy board, to divide different areas and make it look more neat. I did it with some painters tape and acrylic paint.


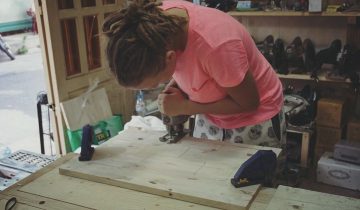
Then I added my details. Though it takes a bit of perseverance to get every little item exactly where you want them, it’s a lot of fun. Here’s a good tip: use a sharp pencil for the marks and pre-drill the holes a little.

I had small handles, so I carved little doors out of plywood, and painted them.

After screwing doors and handles together, I attached them to the main board with the tiny hinges. One opens from the side and another one from the bottom up.


Final step: adding little things. First, I tied a piece of sturdy rope to rings, so it can be pulled and yanked. Then I stuck a pair of googly eyes behind one of the doors, and a pocket for a changeable picture – behind other. Besides, a small safe mirror will do great too.
Now mount your activity board on the wall and step back

Emir loves his board. Most of all – the door stopper, it is a huge hit. Boiiing! Boiiing! 🙂


 No products in the cart.