

Bells will certainly jingle for me this year!


Where did these bells ornaments come from? My mom got some ceramic bells for the decoration on my wedding (3 years ago). They hung on “wish trees” right behind newlyweds. After the celebration we packed them and put away – where they stayed till last week. Mom was uncluttering her place, and brought them to me, ’cause I’m “so crafty, you know, and for sure will make something adorable.”
Ohh, moms 🙂
So. You’ll need:
- a dozen of ceramic bells (here in Ukraine they’re quite common. Try your local craft supplies shop);
- acrylic paint of desired color (red and white are bold and christmas-y, but it depends on your tree’s color scheme);
- sponge brush;
- pencil;
- very thin brush or a Sharpie;
- spray lacquer;
- matching ribbon;
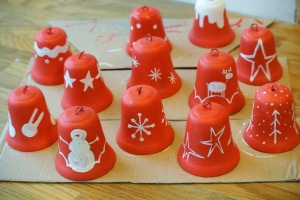
First I sketched some designs. I made 16 to choose of, but half of them seemed ugly, so I improvised a bit. Still, no two are alike.
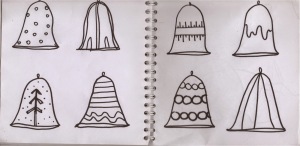
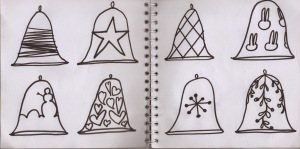


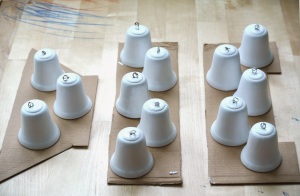
You start with this.

First apply a layer of white acrylic. You don’t want your bright red color to soak into ceramics and look dull. Let dry.

Second, apply your main color. Let dry. Repeat, if needed. That’s when I let my toddler help along. I just gave him paint and let slap it on bells. Later I easily overlapped his abstractionism with thick layer of paint.


Third. Sketch your design with a pencil, one bell at a time. Then take your thinnest brush (my had hardly 4 hairs on it), or a Sharpie, which is preferable. Hold breath and trace your design on bells. Let dry.

Fourth. Cover your ornaments with spray lacquer. Let dry.
Fifth. Attach ribbons to hang bells on.

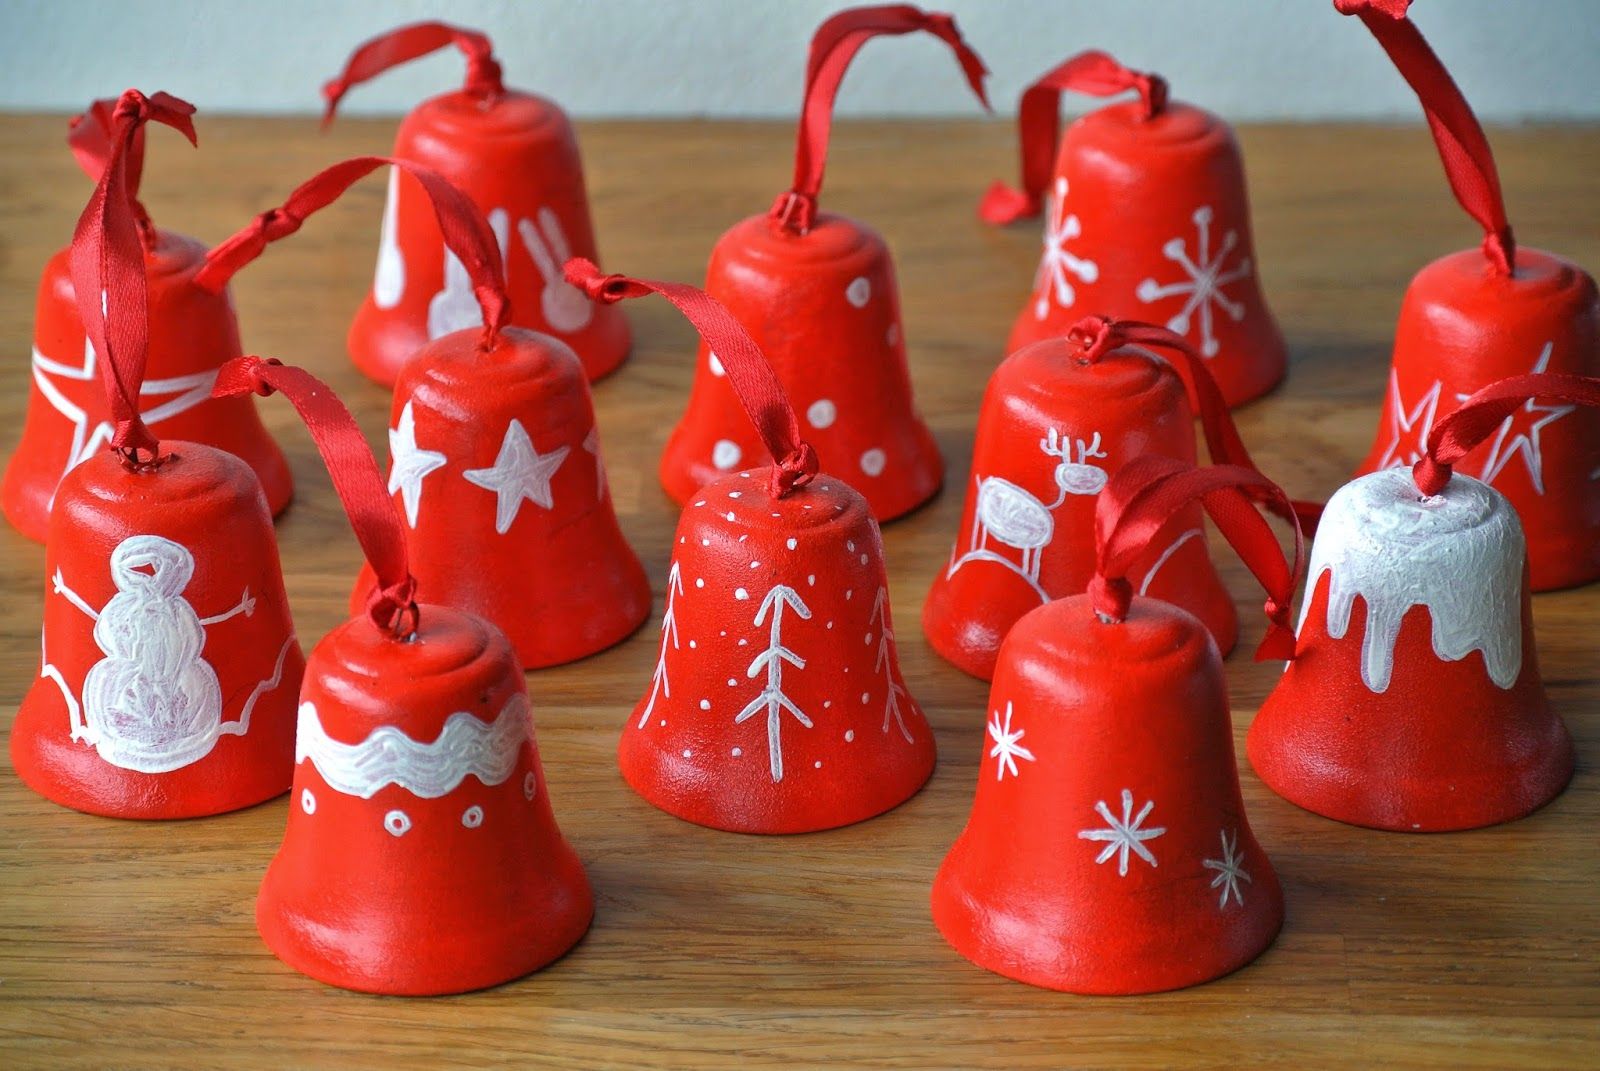
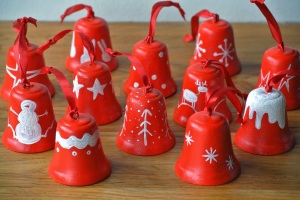
Ta-daaa!

I got a dozen (a whole set!) of cool, festive, JINGLY bells ornaments for $0.70. That’s what ribbon cost. Everything else was leftovers from other projects.

 No products in the cart.