


You’ll need:
- some scrap wood
- a pattern
- a jigsaw or a bandsaw
- sander
- x-acto knife
- hooks or loops
- your desired materials for decorating (i only used acrylic paints, but you can add glitter or anything else)
Cut your wooden crown decor shape out, then sand it thoroughly. You’ll get something like this:

Apply first coat of white acrylics. Let dry. Apply second coat. Let it dry.

Notice how I drew small circles with my brush while applying paint. It gives your crown good “fluffy” cloudy texture.

When white paint dries, take painter’s tape and put it all over the crown. Then draw some clouds where you want them. Take your x-acto knife, cut clouds out and take off all excess tape. Make sure clouds stick well to the crown surface.

Cover it all with blue paint. I used foam applier. Let dry. Apply second coat if needed. Let dry.

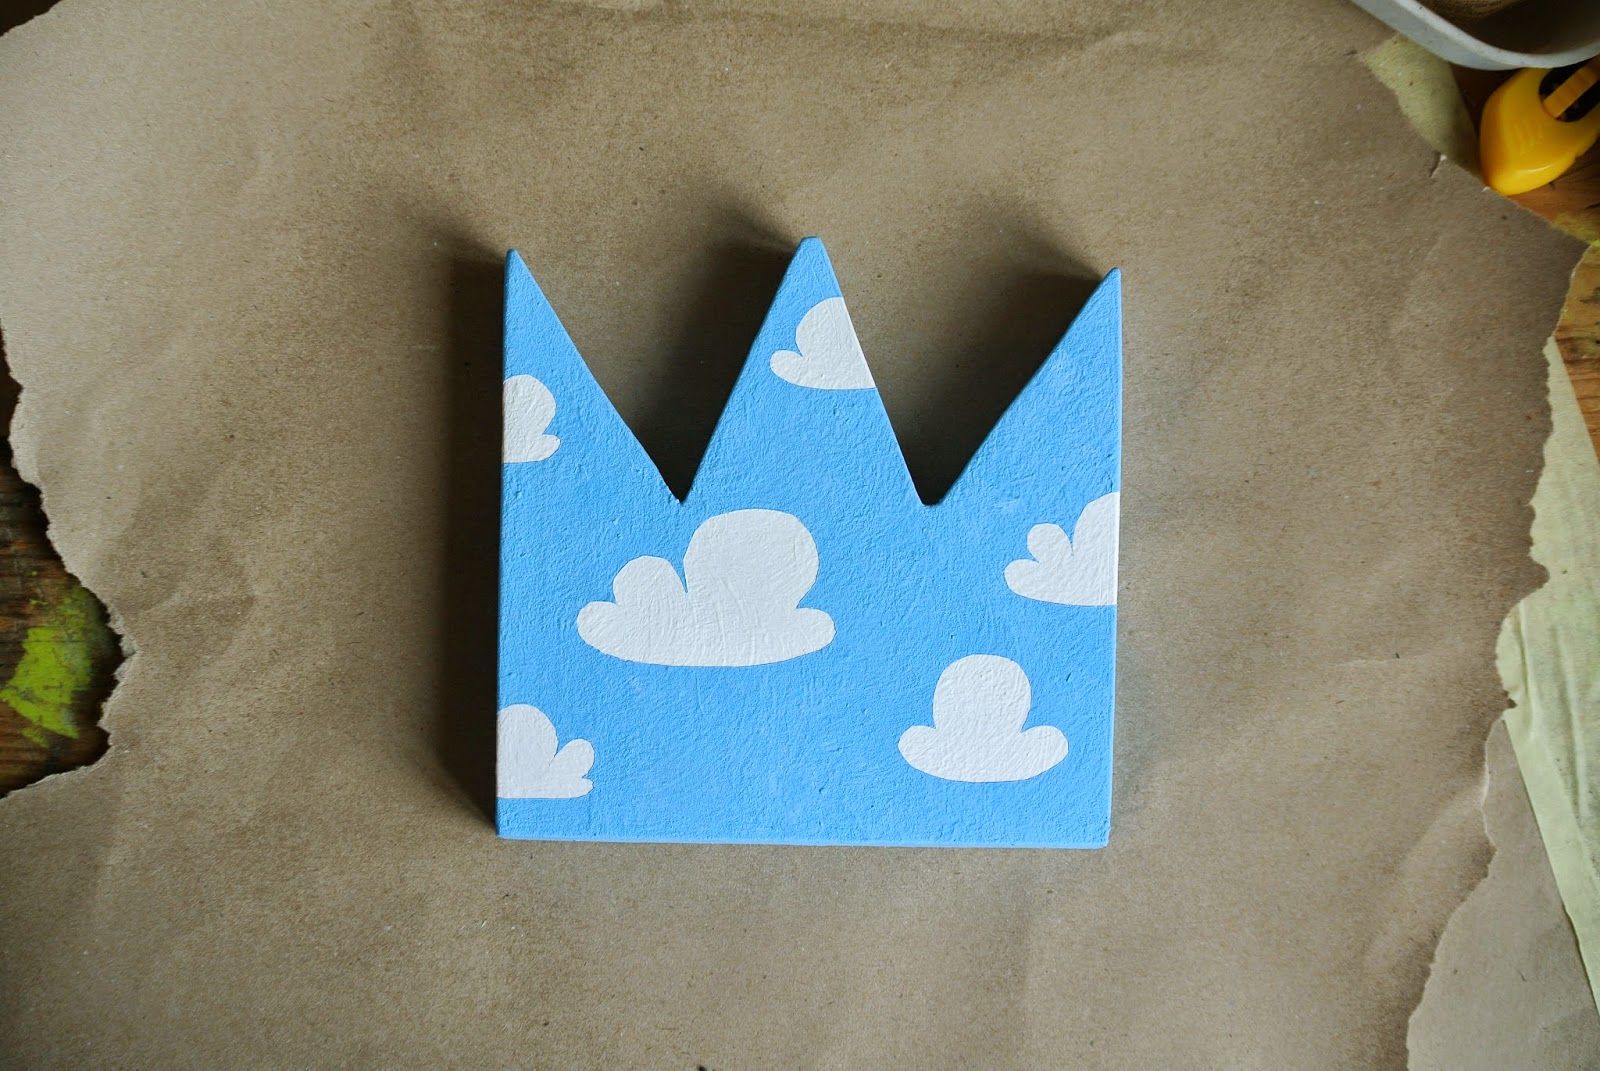
Carefully peel off tape clouds.

Enjoy! You just did a b-e-a-u-tiful wooden art!

You can just put it on a shelf like that, or add a loop at the back side to hang it on. Try it different ways.

I just can’t get over cloud theme 🙂 And Toy Story trilogy ain’t making it any easier!


 No products in the cart.