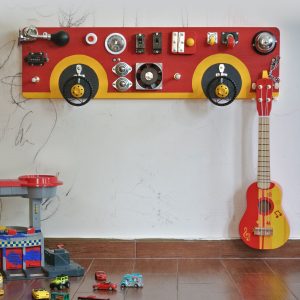
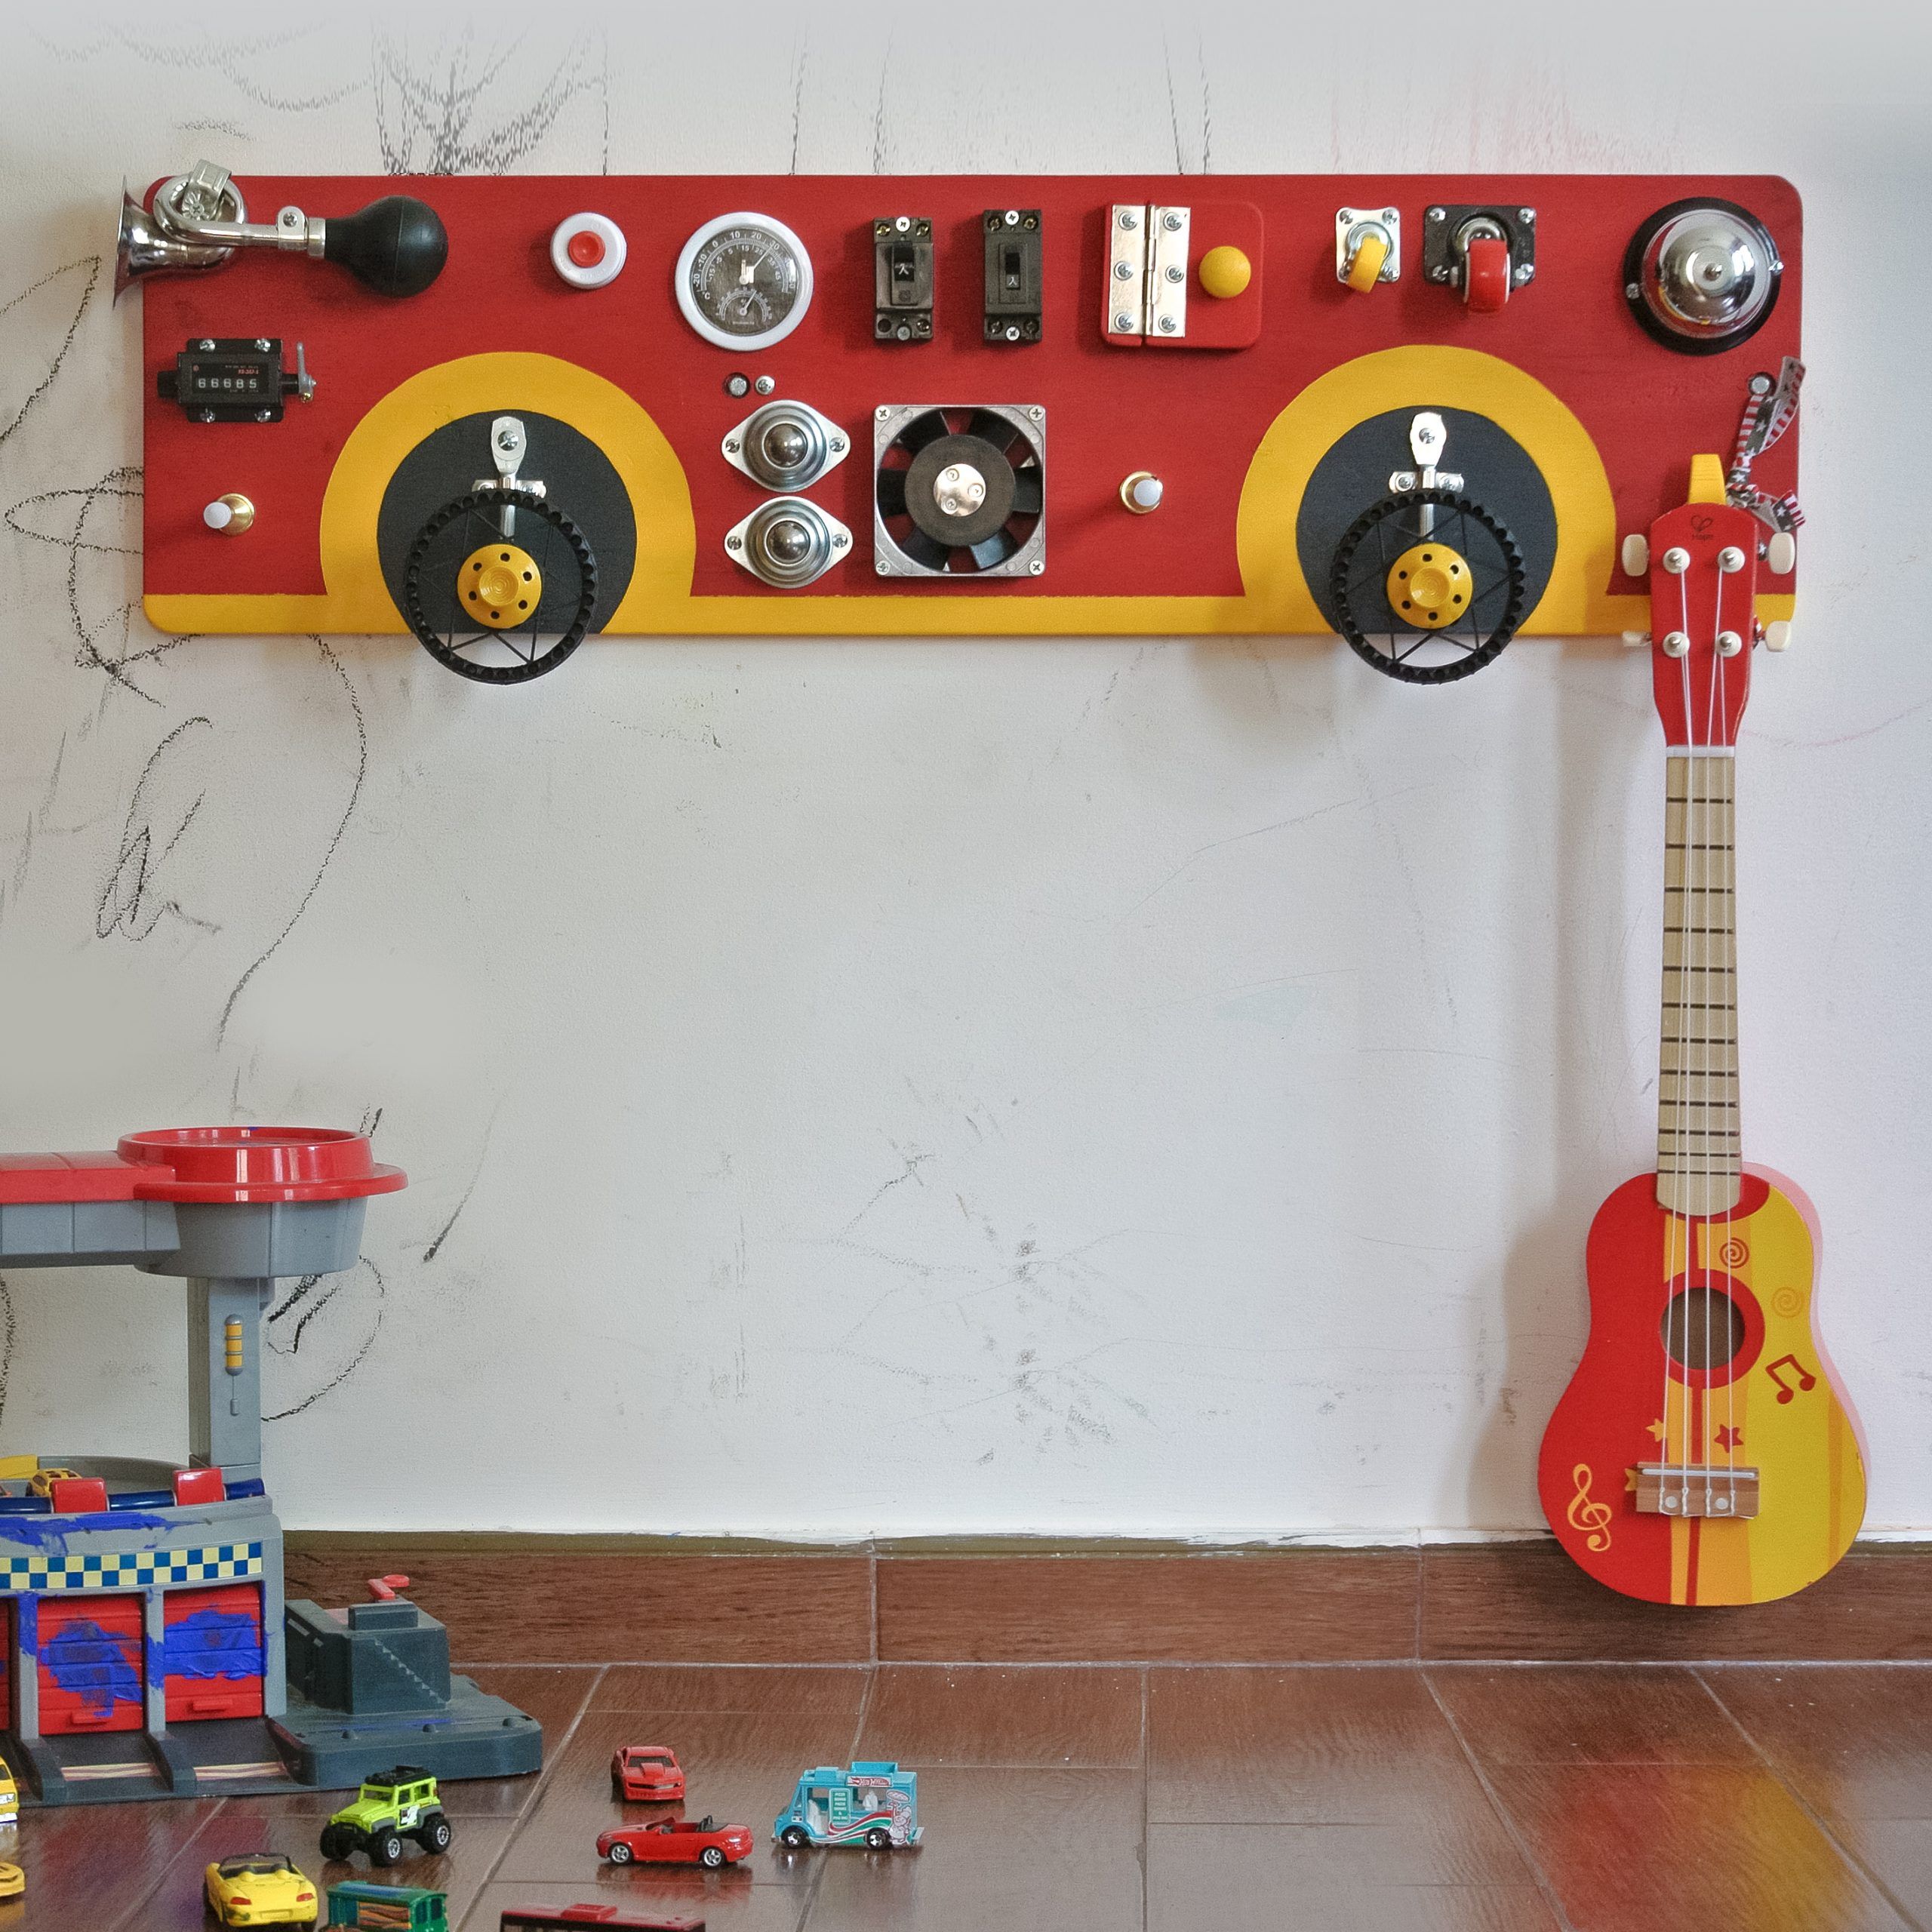
I was extremely excited to work on this one. It was custom-made for little Ash for his first birthday. The tricky part was that this toddler busy board had to be share-able with his 3-y-o brother Luca. So, I came up with a tandem.
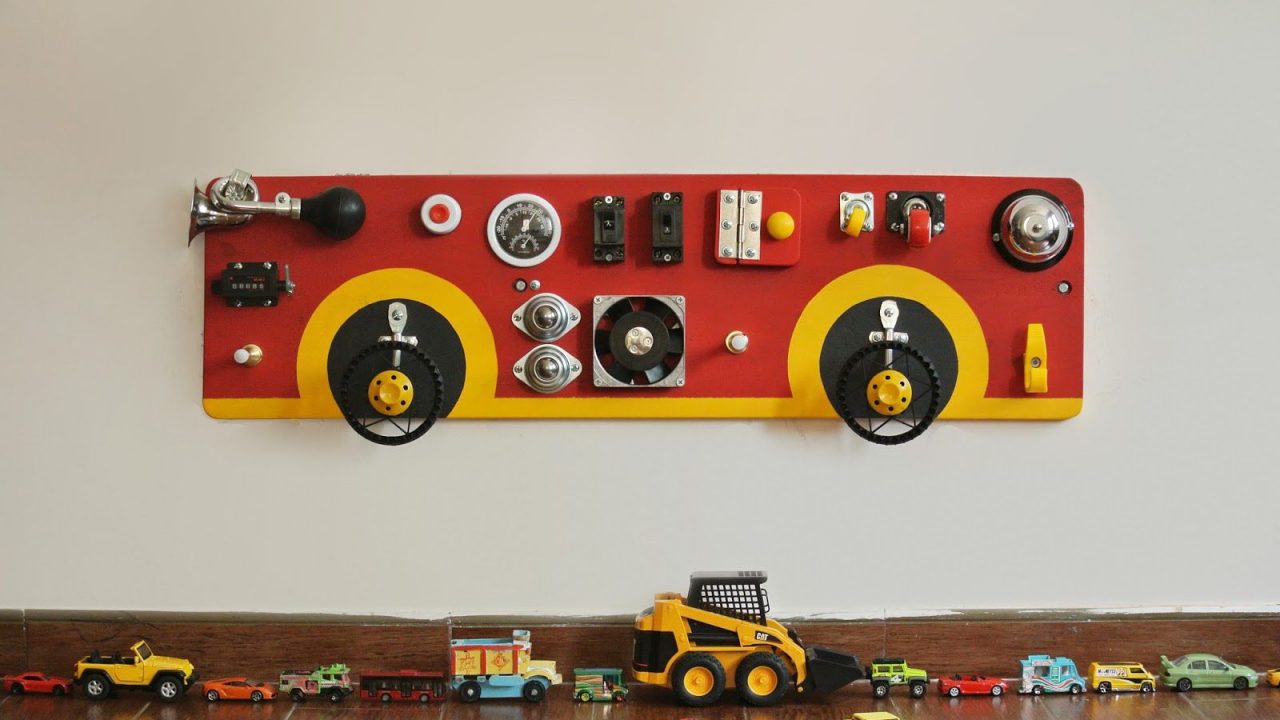
The theme was a no-brainer. Of course, CARS is what little boys are all about. So, I dug into the idea. I had a lot of fun with this toddler busy board of a very unusual format. The project took me about 2 weeks. Can be squeezed in 2 days if you have tools (jigsaw & powerdriver) and details stocked up. In 1 if you don’t care about colors – but it’s just not really the same. See below the few pictures of making-of.
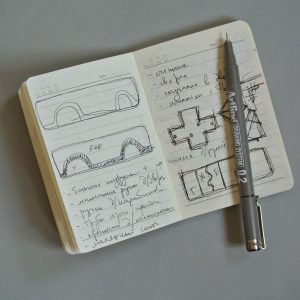
STEP 1
Cut your board size, sand it, come up with the design
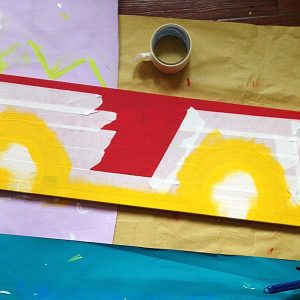
STEP 2
Paint. I got the inspiration for colors from a random wooden rattle in a toyshop nearby. You know that feeling when right combination kinda just jumps into your eye? Paint-tape your design on the board. Get all the layers applied. Let dry thoroughly.
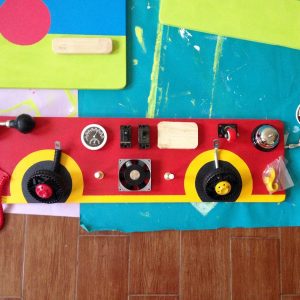
STEP 3
Eye-ball the parts. Here you can try various options to pick the layout you’d prefer. Make sure your toddler will easily reach and operate all elements. And safety first! Adjust it to your kid’s age. Here, I chose to skip the cord and the mirror.
STEP 4
Assemble. Curse. Reassemble. Curse. Reassemble. Get stuck. Get unstuck. Assemble. Step back. Enjoy.
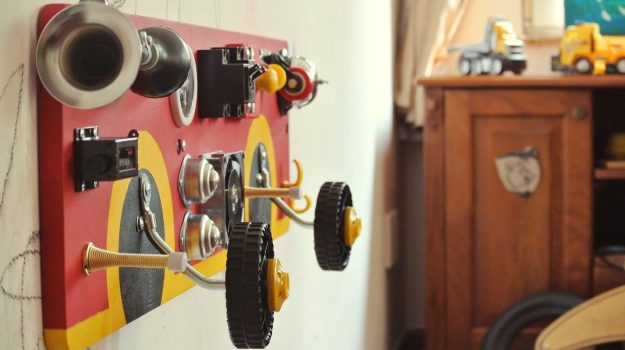
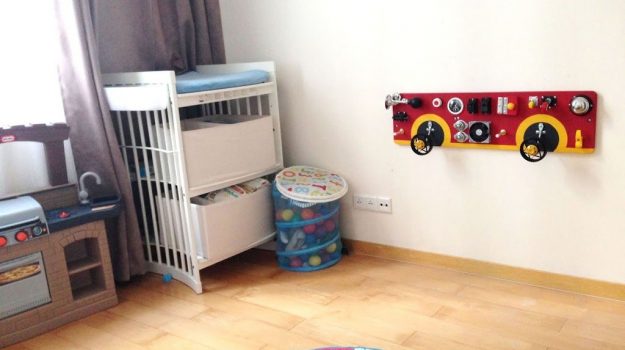
I grouped the elements basing on boys’ age. The right side is pure toddler busy board. It’s all about simplicity and fun for a 1-year-old Ash. Meanwhile, more complicated elements went to the left, for his elder brother Luca. I made a surprise installment while the birthday boy went for a walk with his brother and daddy.
Isn’t it just great how the busyboards make this impressive statement in any playroom?
 No products in the cart.