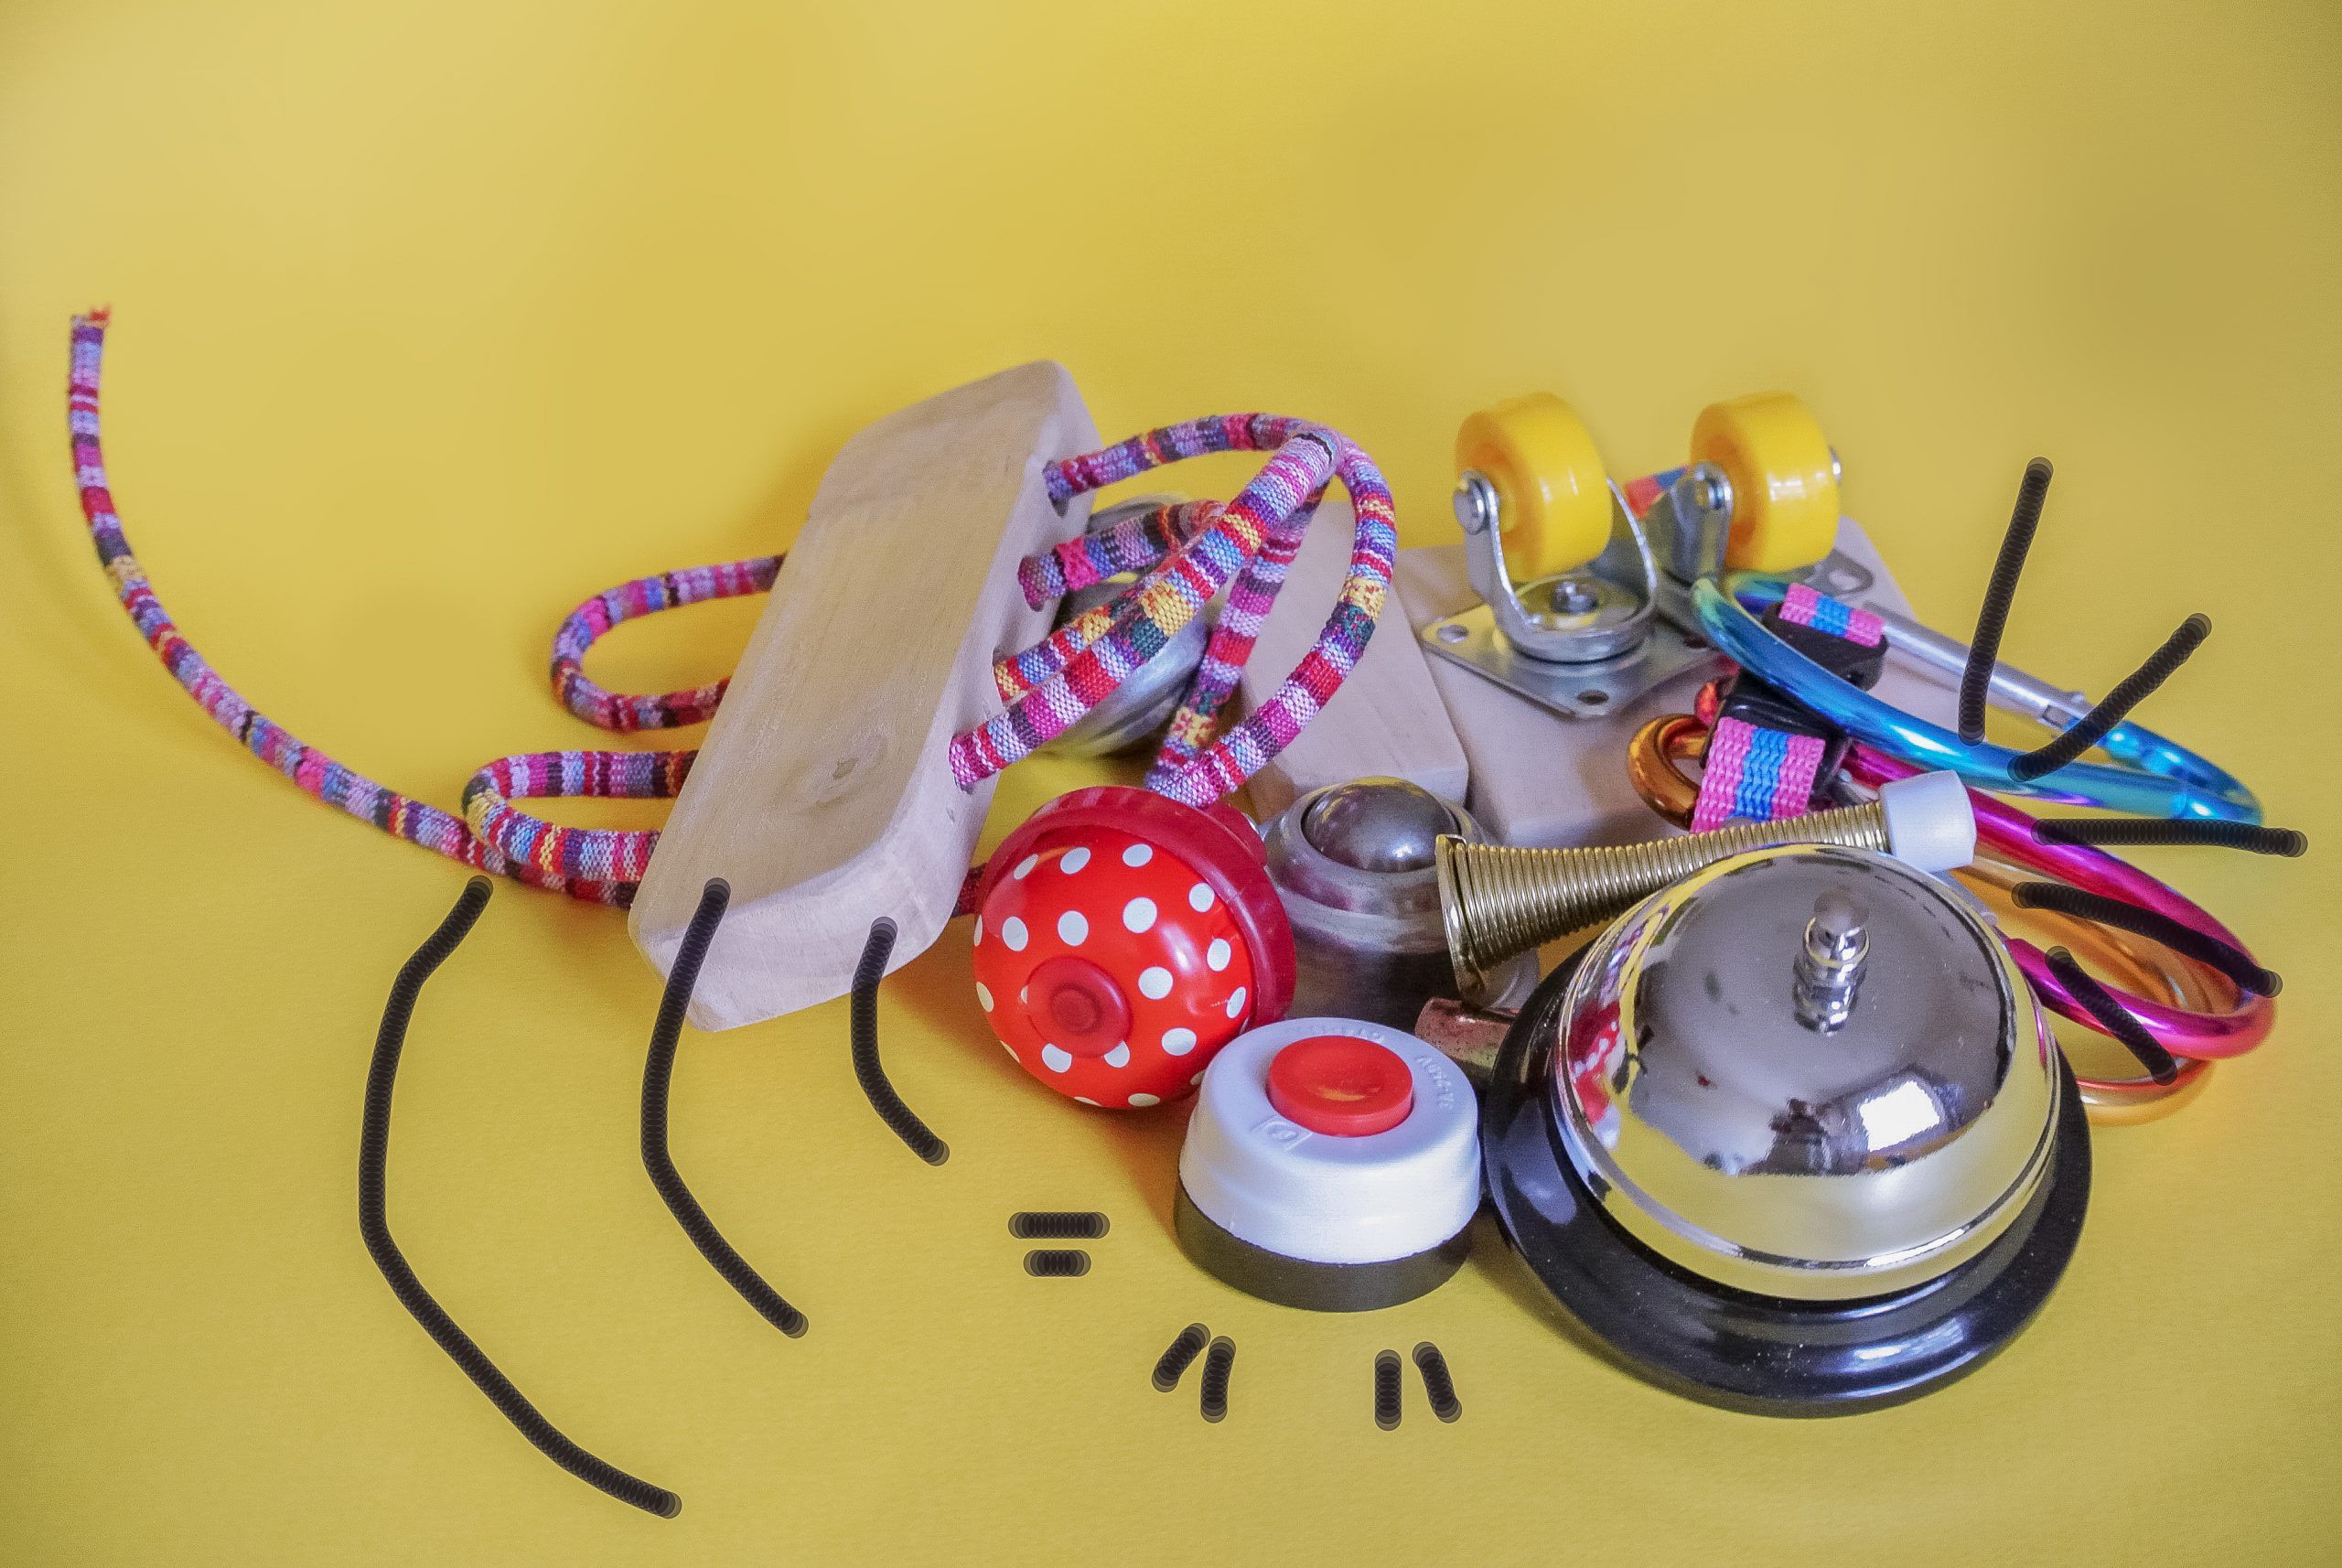
There is a certain basic set of busyboard parts, that can be found through googling “how to make a busy board”. The wheels, the bells, the doors, the latches. The spring door stopper. It’s a great set to start with.
However, if you want to know how to make a busyboard that will be a truly next-level toddler toy and awe your kiddo for years, this list of cool busyboard parts is for you.
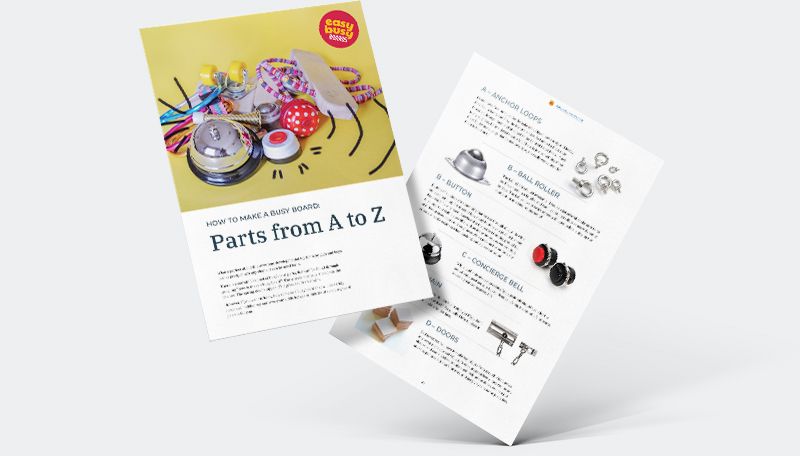
Would you like to receive our free “Parts for busy board A to Z” e-book?
Would you like us to send you this list as e-book? Leave you email to receive Parts A to Z e-book and get access to our special proposals.
See this Pinterest board for a quick overview of my favorite elements for busyboards, or scroll on for the full list with features, hints and pro tips on each of them.
I stand for rustic and colorful busyboards!
Concept of the busyboards includes being big, bulky, sturdy, popping, filled with “no-no” hardware pieces. It should be rad. It should be prominent. It should train a baby for the real world by letting her push and pull real, metal, hard, challenging parts – and feel extremely good about it.
Where to get parts for busyboards
- Hardware store and your garage are the first places to go to.
- Consider the thrift stores. I once found lovely old washing machine handles in the thrift store. They were fully intact, with the function of pushing in and out, and they clicked like angels sang. It was a kinesthetic heaven.
- Go to the yard-sales to look for the keyboards, switches and rotary phone discs, which makes a superb part for any DIY toy project.
- Browse online seller platforms for the one-of a kind central pieces like vintage arcade controllers.
- Dollar Store and Daiso are worth browsing. Look closely among kitchen and gardening goods.
- The car parts will require some imagination to install them, but they may become a huge hit.
How to pick parts for busyboards
- First things first: SAFETY. Everything must be safe to touch and operate, without sharp edges or moving parts that can pinch the skin. Mirrors must be plastic.
- Think ahead about how you will attach your elements to the board. Installing a concierge bell, for example, requires drilling holes in the metal base.
- If you really like something, take two. Kids love the double parts.
When you’re choosing the elements, go for the bright colors, sturdiness, bulkiness, and good working condition.
Fidget with each part for five-ten minutes. If you love the sensory feelings it gives to you – clicking, squeaking, motion, momentum, weight and tension – then get it.
How much do parts for busyboards cost
Average-sized busyboard can carry from 15 to 20 parts. Some store-bought elements would go for as little as under a dollar, but some – hinges or handles – can go all the way up to ten. Altogether, be ready to spend around $50 if you’re buying in a store.
Rare parts like retro car horns, rotary wheels, industrial switches, arcade buttons and music boxes can get $7-20 apiece.
How to save? For homemade #busyboards, do some recycling. Screw caps from plastic containers, Altoids-like tins, training wheels from kids bikes, zippers from the old clothes and buckles from old backpacks can be upcycled to a busy board.
Your busyboard parts choice will vary slightly depending on age of your baby and her likes. But just slightly.
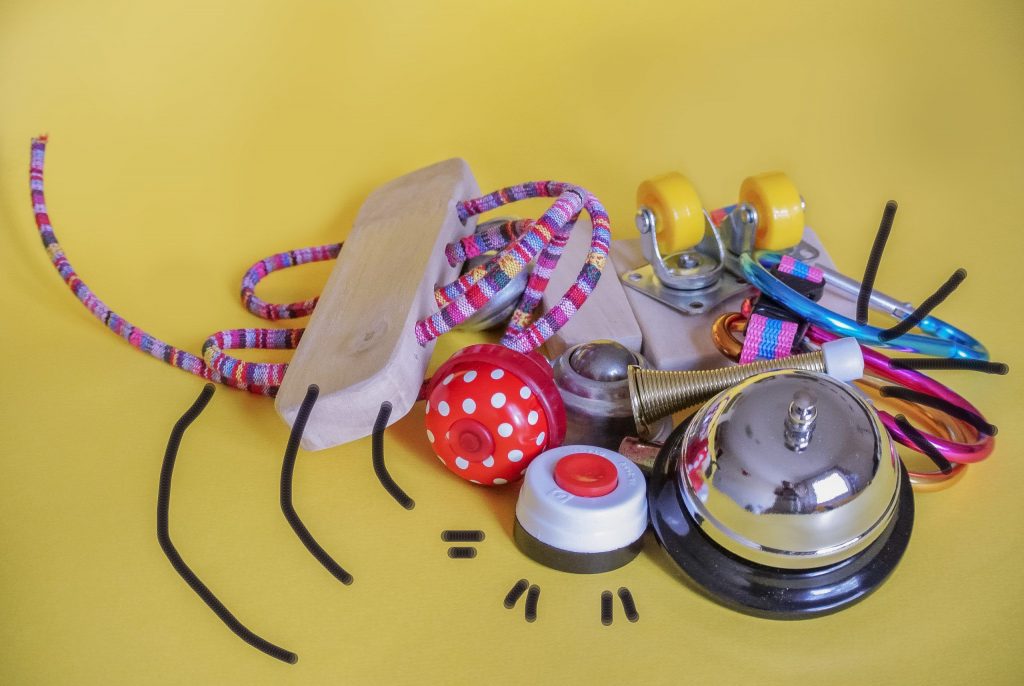
Ready? Go ahead. Here’s how to make a DIY busy board – just mix and match…
PARTS A TO Z
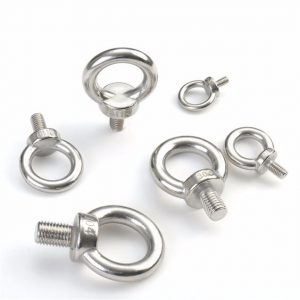
A – Anchor Loops
I used these first time just for the sake of it. I liked how sturdy and heavy they feel in hand, and how the texture is nice. So I added a thick rope threaded through them and attached to the Control Panel Board. Much to my surprise, Emir enjoyed them a lot. There is just something about these bulky metal rings that babies love. Also, it’s really convenient for them to hold on to.
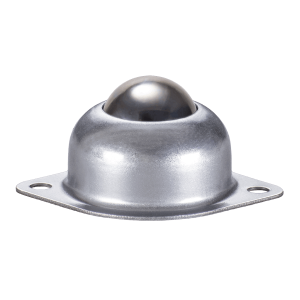
B – Ball roller
The ball rollers are just awesome. If you can get several, make sure to do so. Place them in a bundle, and you’ll get an incredible sensory dynamic surface. The babies love to swipe across with open palms, enjoying the momentum and loud rolling sound.
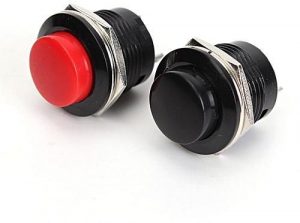
B – Button
Buttons of all kinds are something that we use through all our life without even noticing. Try to count how many buttons you push in just one day – you’ll be surprised. Busyboard is the perfect training ground for this important skill, hence fill it with as many buttons as you can find, of different sizes colors and toughness. When picking the buttons, my criteria is tactile coziness when pushing, and a pleasant sound.
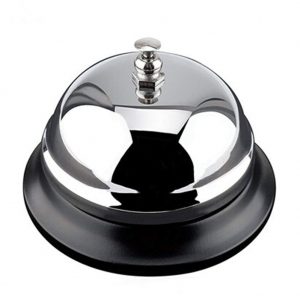
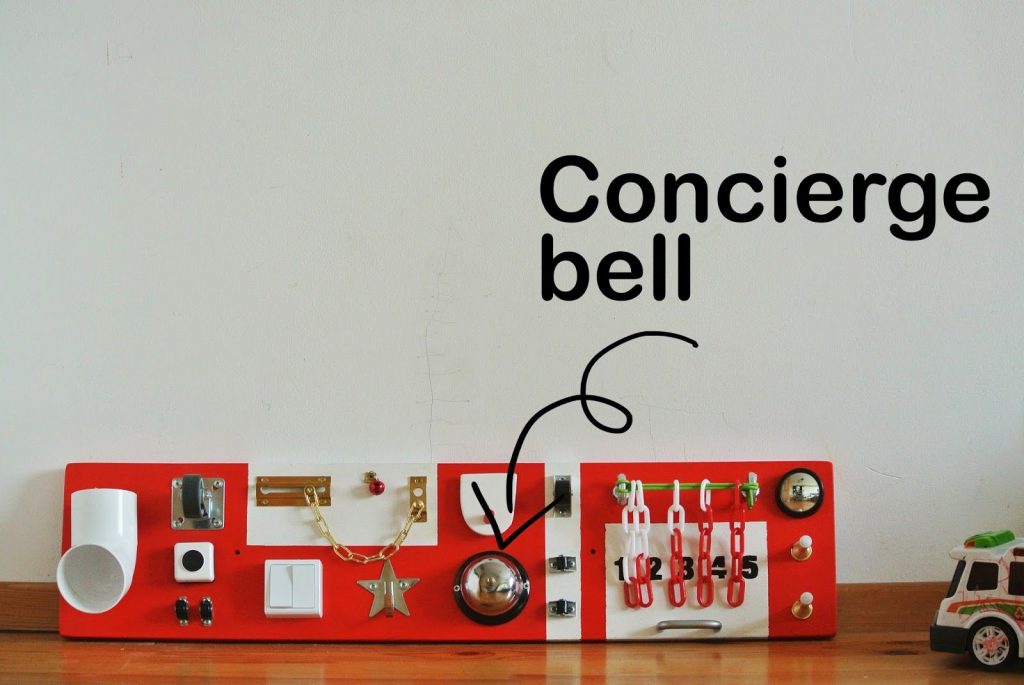
C – Concierge bell
While loud, this one is marvelous. You absolutely should use it for the sound-enhanced sensory board. Besides, it’s big, it’s round, it’s mirror-y. Makes a great centerpiece, too.
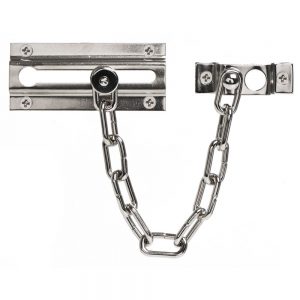
D – Doorchain
Doorchain goes great with the doors. But don’t let it stop you if you don’t have them. It’s a lovely big piece all by itself. Personally, I love to place it next to two buttons or rollers to make a Smiley face.
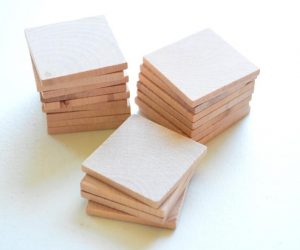
D – Doors
Bad news: you will have to make your doors from scratch. Good news: any scrap piece of wood will do. To encourage curiosity, they can be any shapes, and come latched or unlatched. Behind the doors, you can put stickers, pictures, little safe mirrors, and googly eyes to name just a few.
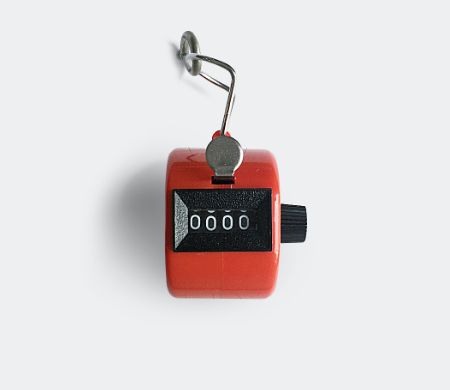
C – Clicker Pax Counter
Do you recognize this one? This is the counter flight attendants use when counting the passengers – well, along with all the other uses. A puzzle, a gadget, and educational props, this clicker is one of our favorite STEM-charged parts.
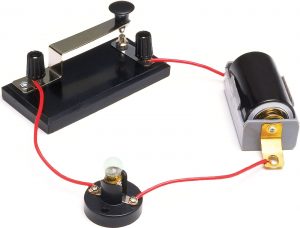
E – Electrics
I adore dads who manage to make a full electric circuits inside a busyboard. Still getting there. If you have the electrician skills, you should definitely connect some switchers with some lamps, and make the buttons make sounds.
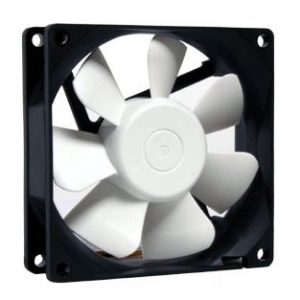
F – Fan
A plastic computer fan makes a great busyboard part. With just one push it can whirl for quite a while, mesmerizingly. Add a painted spiral on it to mimic the airplane engines.
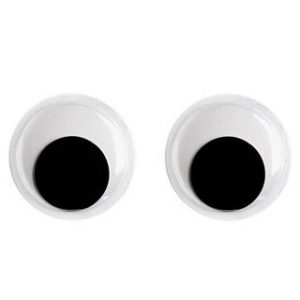
G – Goggly Eyes
Goggly eyes are always a good idea! I love to add them anywhere. When you make the peekaboo doors, put the Googly eyes behind them. It is a crazy fun twist to your usual game of peekaboo.
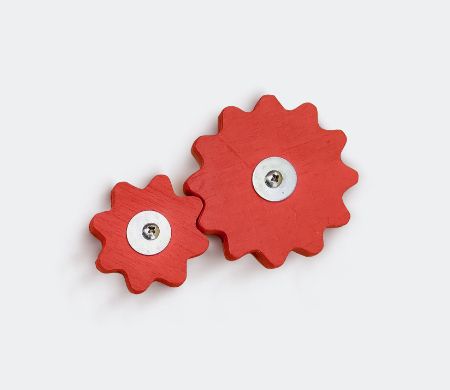
G – Gears
Gears get babies mesmerized! Not only them, though. The magic of the one move turning into many strikes us all. Add the gears to the busy board & introduce your kid to the basics of STEM.
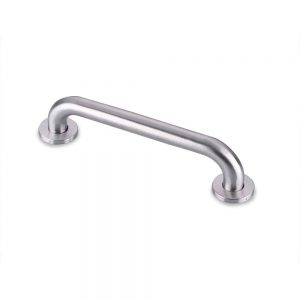
H – Handle
The handle might seem unamusing but it is highly functional. First, the baby can use it to hold and stand up confidently near the busyboard. Second, you will praise it many times in the making for the convenience in taking your board around and mounting it to the wall.
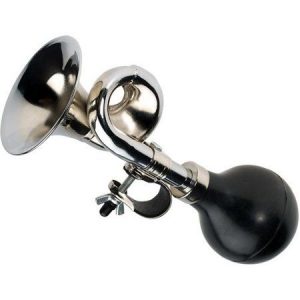
H – Horn
H is for Horn, and for Hell yeah. Baby will love it so much. You will want to place it farther from your relax-and-coffee nook, though. Irreplaceable for the Fire Engine / Car themed boards.
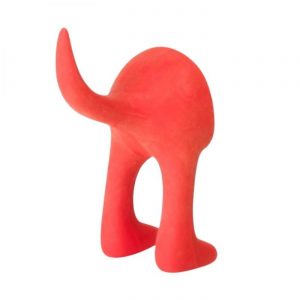
H – Hook
Another unexpected functional element. Toddlers and kids love to put their stuff on hooks during the play, and leave them there. Think whistles, purses, umbrellas, little backpacks – they can all live on busyboard. Choose a hook that is bright and fun shaped to keep up the playful mood.

I – Imagination
Probably the most important part. Comes with every board, pre-installed.
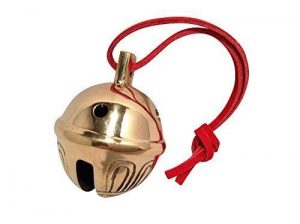
J – Jingle bell
Jingle bells make everything better! What’s even greater, they come in all colors shapes and sizes so you can choose one perfectly complementing your board. I think that next time I will go for jumbo one. Pay attention – they’re tricky to mount.
K – Knocker
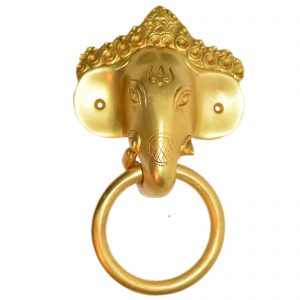
Knocker is a pretty simple element, yet it has two great virtues: first, baby can hold onto it to stand next to the board. And second, they often come in amazing designs, lions and elephants being the simplest. Try the thrift store for this whimsical addition to your board.
L – Latch
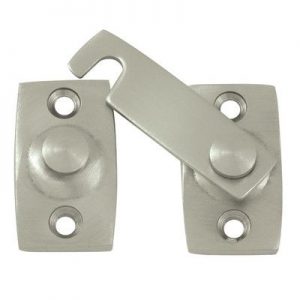
That’s what it all is about, after all. Locks and latches and keeping baby off the latches that should not be touched. As you’re choosing these, make sure to run them back and forth several times yourself, to check if there are no parts that might pinch your little one.
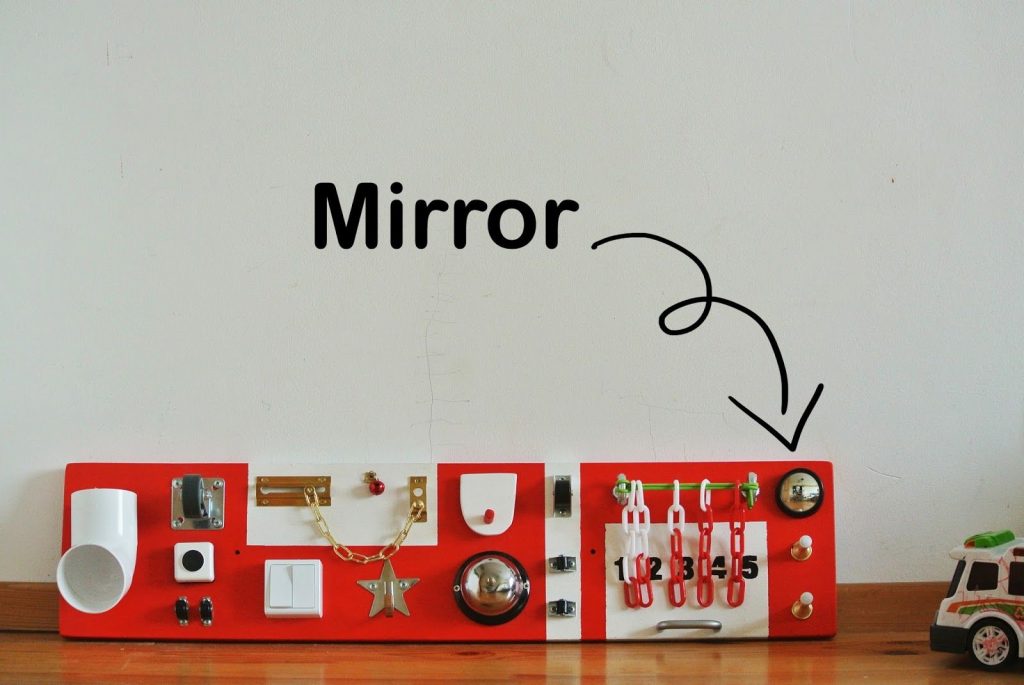
M – Mirror
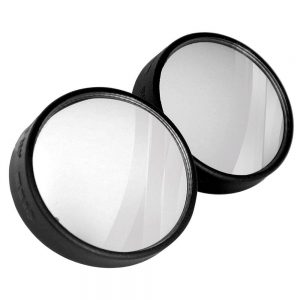
Babies all-time favorite. The exact type of mirror may vary, from the simplest one to the motorbike rear view mirror that will add totally another dimension to the whole thing. My personal favorites are little fish-eye extra rear view plastic mirrors, that can be found at the dollar store.
N – Numbers
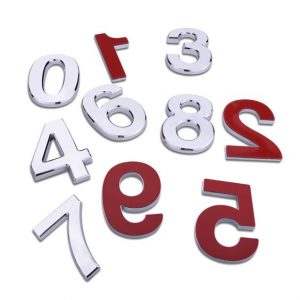
The store-bought busyboards would sometimes come with all the alphabet and all the numbers installed. Personally, I think that there are better ways to learn letters and maths. However, some big and shiny numbers – like the ones that get installed on your house – can add a very nice accent. Especially if you make this board for the birthday, of course!

O – Ornaments
It never hurts to add some ornaments to finish off your board’s design. Don’t get discouraged if you want to add a piece that is not very functional. Sometimes thermometers for nurseries come in great designs, that can contribute to the looks of your board. Or the embossed tin foil ornaments, they look and feel great, and can totally add a special emotion.
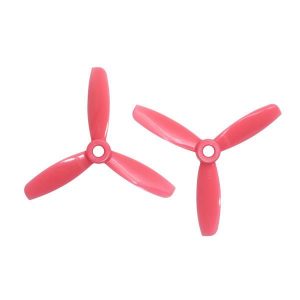
P – Propellers
Propellers add an instant engineering accent on your board. Cut them out of plywood and paint bright. Put several in a row for a multiplied fun.
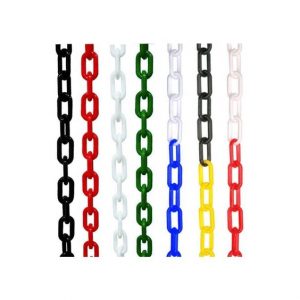
P – Plastic Chain
Plastic chain is a cool sensory element – it’s bright and light, and makes a nice rattling sound when swiped across. I can interact with other parts nicely. Make sure your cuts are no longer than 12 inches – the safety standard.
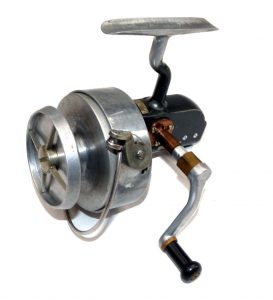
Q – Quirks
Don’t limit yourself. If you have something lying around that looks cool and inspirational, if it’s safe and fun, install it. As far as it goes, these pieces usually make the most impressive and interesting central pieces. Take a look at this fishing reel, for example.
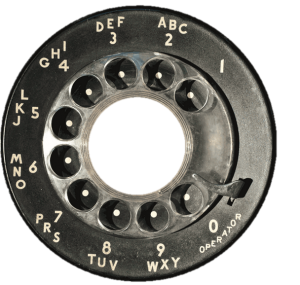
R – Rotary disc
If you’re lucky to find an old phone in the thrift store, you can use it as a toy as is. If you’re only lucky enough to find the disassembled rotary disc, it’s even better! Use it as a centerpiece. Have extra fun by asking kids what is it, in their opinion. It’s also a great way to add maths and phonics in a fun way.
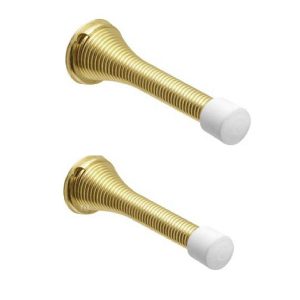
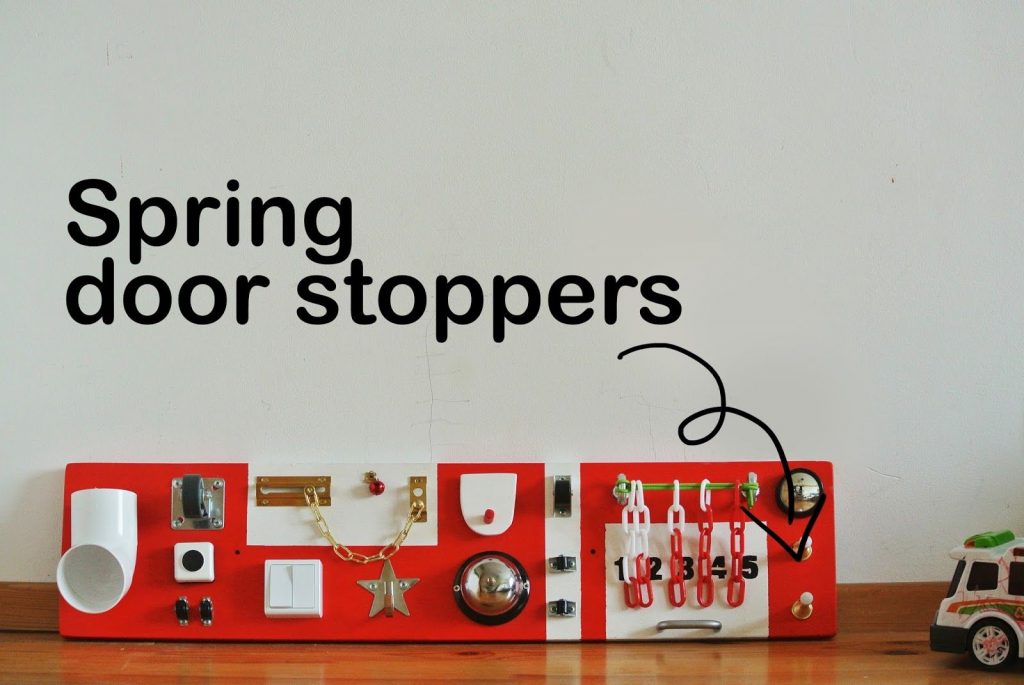
S – Spring door stopper
Out of all elements, spring door stopper is a must. Opt for the longest one you can find – the longer it is, the funnier it wobbles. Babies and toddlers all the way up to 5-year-olds are just mesmerized with this thing, the sound, the action, and the looks. Spring stoppers are so good, I started installing them in pairs for the double fun.
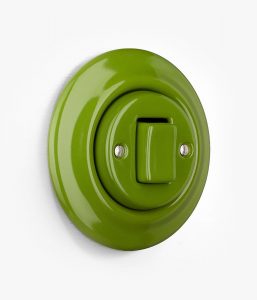
S – Switches
Switches are basic. The rule of thumb is: try before you buy. If you feel it might pinch you, if it’s too tight, if the sound doesn’t make you happy, you can always look further. There is an abundant choice out there, so go for the one that is kinesthetically most pleasing. Get extra points for the switches with ON/OFF marking – these even come in different languages.
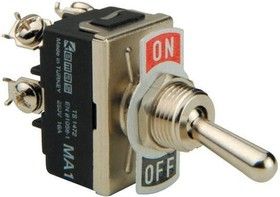
S – Switches
This old-school rocker switch is kinesthetically and visually pleasing. Extra points for the ON/OFF marking – as it teaches reading along the way. The nut-and-bolt part in the front part can be removed while kids are little, and used as a fine motor training element when they’re older.
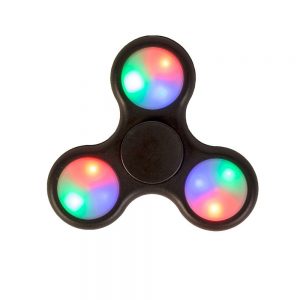
S – Spinner
The spinners are very cool, and their absolute pro is that they’re fairly easy to install on the busyboard. Just drill a precise hall through the very center, and screw it to your board. It’s secure and super fun. Choose the led-lighted models to awe any ages from 1 to 9.
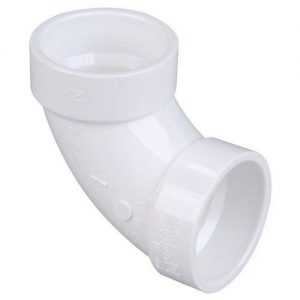
T – Tube
Throw in this element for the endless fun. You can install several of them together to create a tunnel, but one will also be enough. Aside from dropping things through, your toddler will find a bunch of other uses for it. For one, I know a boy who used it as a captain’s loud-hailer when playing with his Ship board. “Full Aheeeeead!!!”
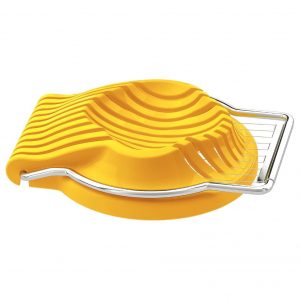
U – Utensils
Simple kitchen utensils like an egg slicer or a whisk can be absolutely mesmerizing for a toddler. Doubling up as a household AND a musical element, they’re cool to include, easy to find and made of safe food-grade plastics.
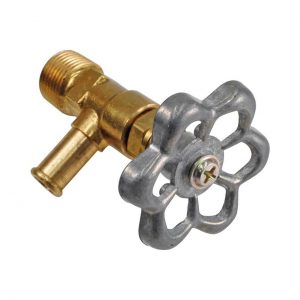
V – Valve
Valves look great. It’s a cool addition to spaceships, boat theme or plain hardware board. They’re not that easy to install, though, so pick carefully. Also make sure that as they move, there’s no risk of pinching the skin or fingers getting stuck.
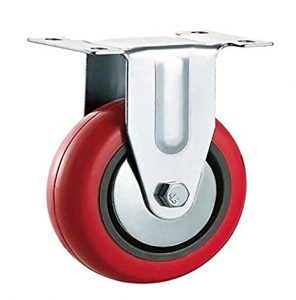
W – Wheel
Wheels of all kinds, and don’t stop yourself! Big and small, rubber and plastic, of all colors and all materials, they know a way to the hearts of toddlers. Depending on the size and range of movement, they will promote fine and gross motor skills. A big pro is that they’re so easy to install. NB: training wheels from kid’s bike (that your big kid doesn’t need anymore) make awesome steering wheels for the toddlers, see our “Car Tandem” for the reference.
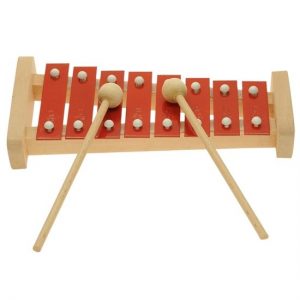
X – Xylophone
A popular addition, that I saw on many busyboards, is a xylophone. If you can find one around that fits your board nicely and goes well with other parts, go for it. Although, together with the Honk and the Bells, make sure that the board with sound elements is placed somewhere in playroom – and not too close to your favorite quiet spot.
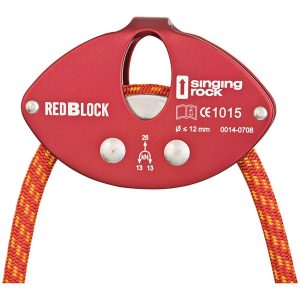
Y – Yanks and blocks
Give your baby something to yank at, and make it as sophisticated as you dare to be. You can attaching a simple bright keychain with a tassel, or push the engineering thinking by installing a working block system with ropes and pulleys.
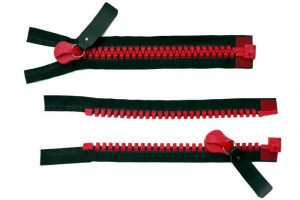
Z – Zipper
Zipping and unzipping things is so fun, and it’s a good skill to pick up as early as possible – so your kid can start dressing herself earlier. Pick a Jumbo sized one in a bright color, if you’re going for a store-bought. Or, if you’re hitting budget-friendly busyboard, simply cut one out of some old garment and reuse it.
What else do I need to make a busyboard?
Aside from a bag of shiny trinkets, you will need:
- a BOARD – you may want to utilize something that you already have around your house, like and old cabinet door
- a power DRILL + SCREWDRIVER and an assortment of screws
- some elements require a JIGSAW
- acrylic or water-based PAINT, brushes, painters tape (go to How To Paint A Busyboard tutorial)
I have made a lot of busyboards, and want to encourage parents who seek for advice. Aside from the hardware store and your garage, look at the thrift stores – a lot of funny knick knacks can come from there. Look for things that attract your baby most around the house and use them to satisfy her “cravings”.
Seek like a toddler. Find something that you like to see, touch, hold and fidget with, then put it on their busyboard.
 No products in the cart.
Busy board – is the best toy, that happened to me and my toddler boy. It’s all fun in one place, and no need to clear the toy mess all the time. And it has no age limit! I mean – it grows with kids and their imagination, until they are old enough to make their own boards, I guess. My 8 year old uses it now as a control board for his spaceship and in tons of other games of imagination.
My son is playing with the board for during 3 years and each time finds something new and attractive. It’s genius! ? The spring door stopper is our favorite!?
Thank you, Alona! ? say hi to David, happy to hear he still enjoys it ?
Really cool and educative toy for both toddlers and grown ups in stress)) seriously, it’s the first thing all the guests see and try when they visit us. It’s handmade and full of positive energy, which is really different from the plastic toys too.
Thank you for the comment, Maria! I know right? Busyboard is the best conversation starter. I’ve had my son’s near the kitchen before, and just everyone coming for a cuppa there have told me how cool it is 😉
Yes, they actually never outgrow them if you get it right 🙂 thanks for the great comment, Anna, happy to hear Zack still enjoys it!
❤️❤️❤️
well, thanks for sharing, this is what I need to keep my son occupied during school from home time. He’s in 1st grade btw
Hi Annisa, thanks for your kind words. Got a tinker-head there, haven’t you? I will be posting soon about how we use a busy board with my 7 year old during our lessons, so stay tuned! 🙂 – Vera
Hi, is there a recommended adhesive to use to attach some things?
Hi Todd, you can use white glue when attaching wood to wood, and superglue for plastics. If you need something to come on and off the board, screw a piece of velcro to the board and glue the other piece to your part.